August 5, 2021 / By admin
Displaying a prized painting can be an art form in itself. So, if you are not sure where to hang your Hockney or display your Dalí we have some helpful tips.
A Single Large Piece
… of artwork can look stunning. Traditional positioning would be centred above the fireplace, a sofa or a bed. This usually allows enough distance to view the piece as a whole, even in a relatively small home. As a guide, it is considered that the ideal height for a single picture is so the centre line of the image is between 145cm and 165cm from the floor.
Large pieces are also ideal for long hallways, at the top or bottom of stairs or above a void, where, again, they can be viewed at a distance.
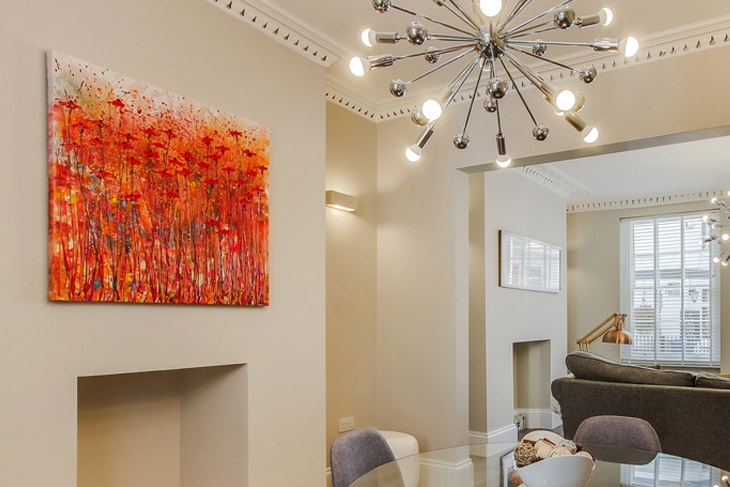
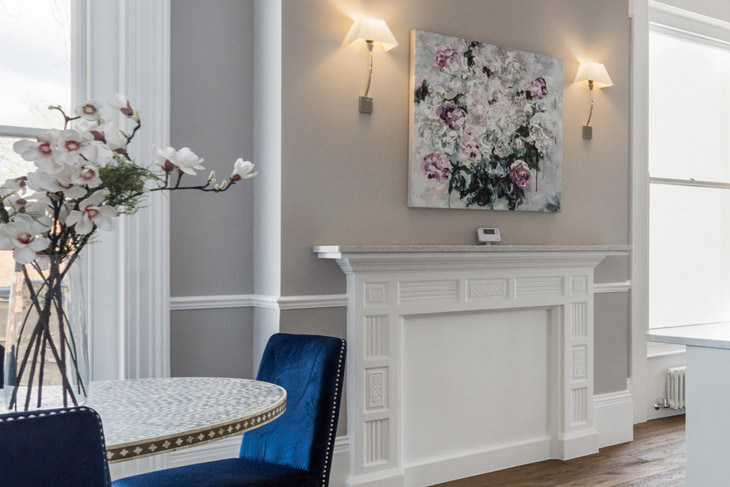
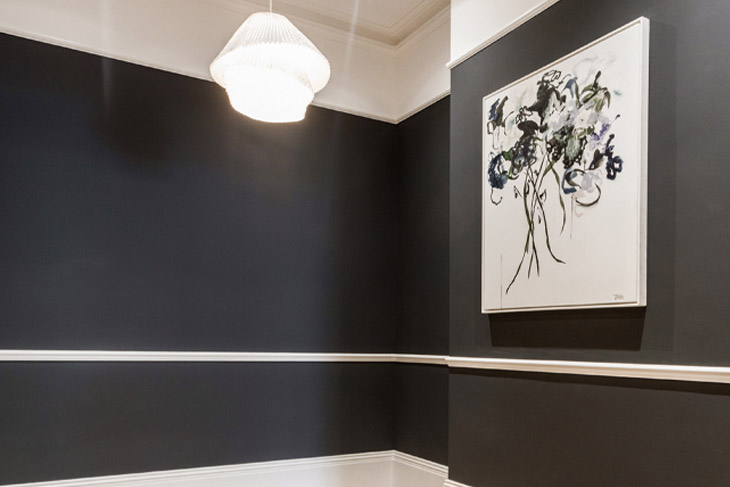
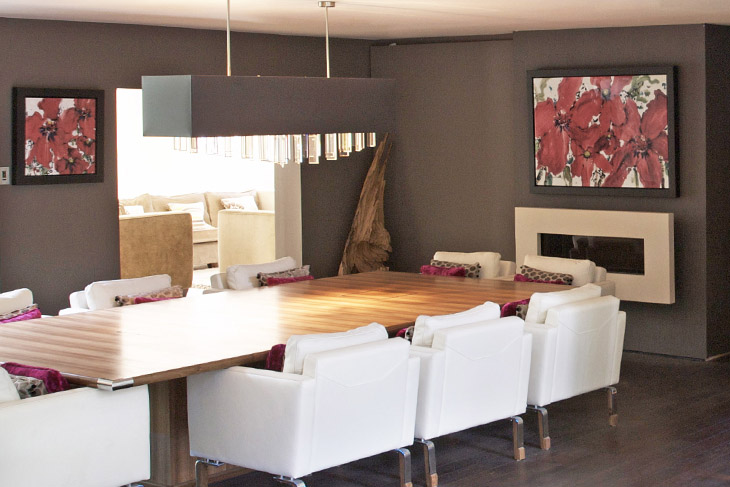
Colourful pieces work best when they are not competing for attention with other furnishings or artworks, so simplicity is key. A single or restricted colour palate which matches the room decor can help create a relaxed atmosphere, whilst bold, contrasting colours can breathe life into a dull room. The canvas shown (above) bring colour to a very neutral room, the painting shown (top) is echoed in the floral arrangement on the table to create a coherant style to the room, whereas the image below shows a far more dramatic, monochrome approach.
On a practical note, when positioning a painting, try to avoid sunlight which causes irreversible damage and, if your artwork is valuable, it is worth checking your insurance, as some will specify that the piece must not be visible from the street.
Multiple Pieces
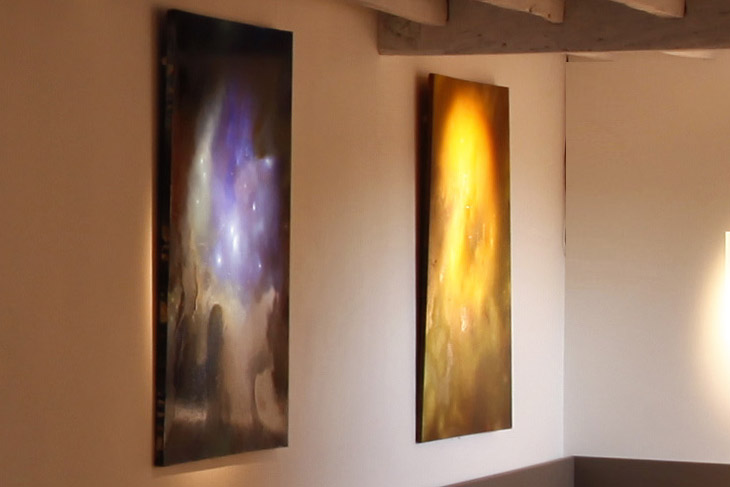
… demand different considerations to single images. Pairs work well lined up on a wall, either side by side or one above the other, but they can also be positioned opposite each other or either side of an feature, such as a door or window.
Several artworks by the same artist often work well together and can create a subtle visual flow.
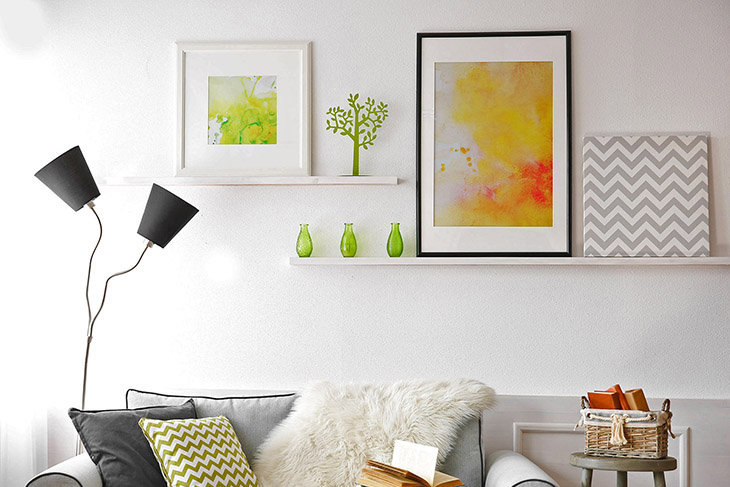
Smaller pieces
… look great as a collection on picture shelves. Painted to match the wall the shelves enable a simple gallery effect with the bonus that the art can be changed instantly.
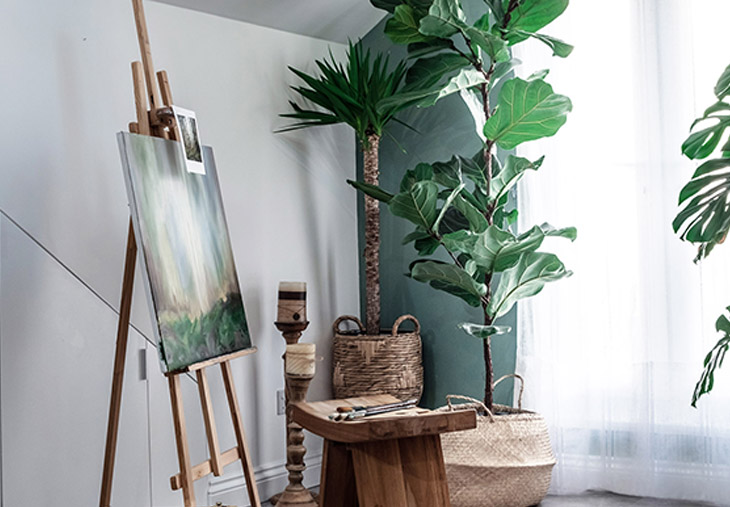
An easel is also a great way to display single pictures if you do not have the wall space or if you can’t hang pictures on the wall. Even if you do have wall space, using an easel makes a statement, highlighting one piece of artwork.
Small easels can be used on surfaces, such as windowsills. Or use floor standing ones in large rooms and hallways.
A Gallery Wall
… is an ideal way to display several, or lots, artworks together, but it can look messy. Whilst, there are no hard and fast rules for creating a gallery wall, there are a few tips which can help avoid the common pitfalls and achieve a neat coherent display.
For a very simple, easy gallery wall simply use matching frames in the same size. Keep all the gaps uniform and opt for a simple grid arrangement. The artworks inside the frames can be similar for a very generic look, or, could be very different, even varying sizes and shapes. If this sounds appealing in its simplicity but a bit boring, try painting the frames in different colours and have mismatching mounts to add interest.
However, the grid method is not suitable for most gallery walls, which tend to be made up of a mixture of all sorts of images. The different sizes and shapes can be quite a challenge to arrange neatly. There are varying methods to plan the layout, but the two most commonly used ones are the External Straight Edge Arrangement and Working from the Centre Outward:
External Straight Edge Arrangement
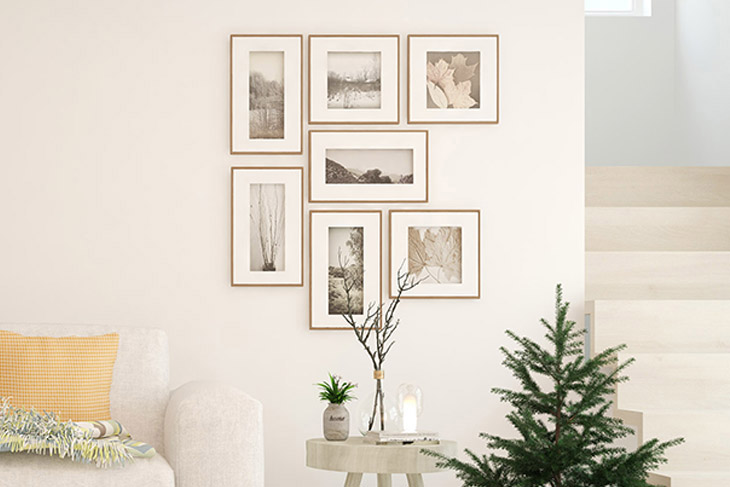
Use one or more external edge as a straight line. It is likely that not all the pictures will fit neatly into one rectangle, so this arrangement may have only one straight edge, often the top as it will relate to the ceiling of the room. But if the arrangement is above a fireplace, piano, or similar defined edge, the bottom edge may be the straight edge. If you are placing above furniture, it is good to leave a gap of at least 20cm (or the width of a piece of A4) between the furniture and the artwork. The image below shows this method with just the top and left edges used as the straight edges.
Working from the Centre Outward
This arrangement uses a few pieces placed in the centre and then works outward building up the arrangement with more images. This can be a simpler way to work than using an External Straight edge, especially if you only have a small number of images, up to twenty or so, to display. If possible try to keep the gaps even to give a neater final arrangement. Choose one of the larger pieces, this will be your anchor piece. Using the anchor piece and a couple of smaller ones, ideally a matching pair if you have them, position these together working out the correct gap. Then work outwards, trying to keep the same gap and lining up edges where possible.
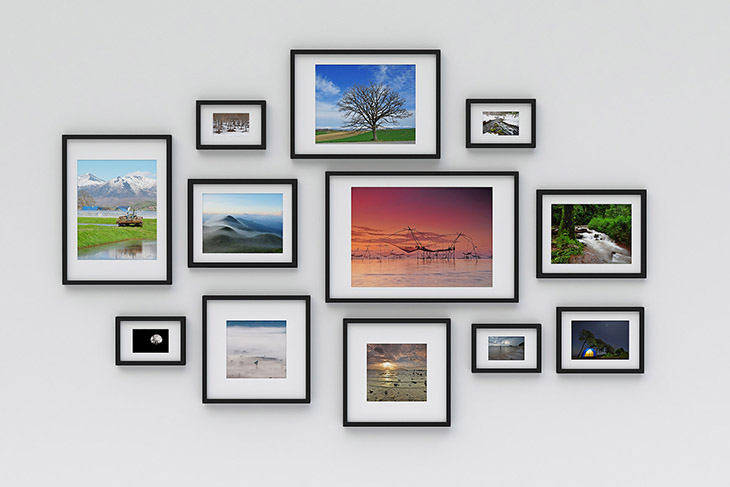
Whichever method you use, it is advisable to lay the pictures on the floor first to work out where each will fit. As you will be living with the results for a while, make sure to allow enough time to do this properly and not rush – it will probably take several attempts to arrange them successfully.
Whichever style of gallery wall you choose, these are our top tips:
- The pictures must be hung straight, use a spirit level to get this right from the start.
- Decide early one if you are lining up the outer edges or working from the middle out. But if it’s not working, don’t be afraid to change and try the other method.
- It can be helpful if at least some of the pictures are the same size – this will help give structure and uniformity making the final wall more pleasing to the eye.
- Although some arrangements can look great very close together, this is hard to work with. As a guide a gap of at least 8cm will give you flexibility in the positioning and avoid the pictures appearing crowded.
- Take photos (lots of them) of the arrangements as you plan the deisgn on the floor. If you change your mind and want to go back to a previous arrangement the photos will be invaluable.
- If it’s just not working take a good look at the pictures – is it just one or two that are causing an issue? In which case take them out to be hung elsewhere.
- Often the hardest bit is just deciding which pictures to start with, if that’s the problem, simply pick the largest picture and two middle sized pictures to begin.
- Finally, it may seem like overkill, but cutting out plain paper in the shape of each frame and sticking each to the wall with low-tack to check the arrangement is really worthwhile. It allows you to see the shape of the whole wall without the distraction of the images and it can be very helpful in getting the positioning exactly right before drilling into the wall.
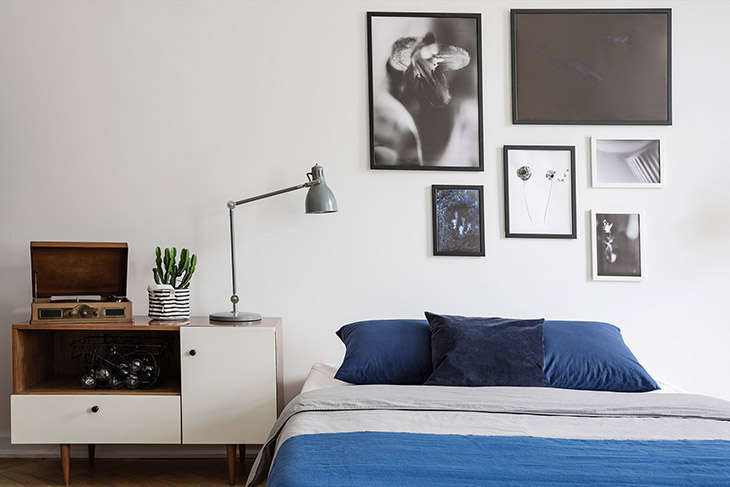
Hopefully, this guide is helpful, however, it is important to remember that, ultimately, it’s your home, your style, your artworks so, don’t worry too much about the rules. If you like it then ‘go for it’ and enjoy your art – however you want to display it.
Of course, if you need any help reconfiguring your house to display your art or, perhaps, even add a new extension to house your collection, do call RRA Architects on 01242 269374 or email us at enquiries@rraarchitects.com
